

Change a material
Adjust the surface response using material properties. The geometry stays the same; the illustrated highlight only explains the finish change.
Before you start
Select one mesh and open its Material panel. If the object has several material slots, select the slot you intend to edit.
Use the operation
Set a surface’s color and light response using a preset or material controls.
- Choose the intended material slot. Select a material preset if it provides a useful starting point.
- Adjust the available controls for that material type. For a standard PBR material, start with color, roughness, and metalness.
- Inspect the result in a view that displays the actual material. A wireframe or material override can hide the changes.
Controls and choices
| Controls | What changes |
|---|---|
| Material type | Different types expose different controls. Roughness and metalness are meaningful for PBR materials, not every shader type. |
| Active slot | Editing a slot affects faces assigned to that slot. Use face assignment when only a specific region should receive the material. |
| Texture mapping | After loading a texture through a supported texture control, adjust its mapping to set repetition and orientation. |
See what changes
Before
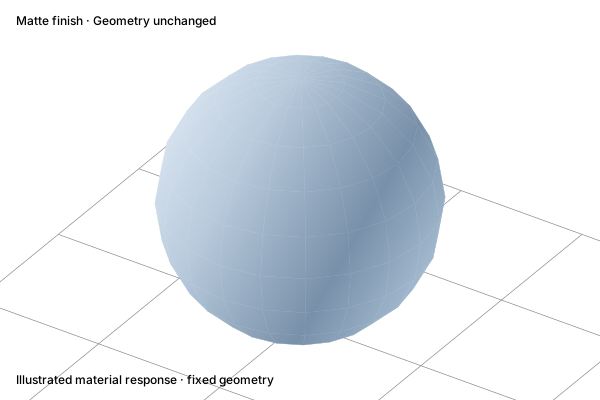
A matte surface
After
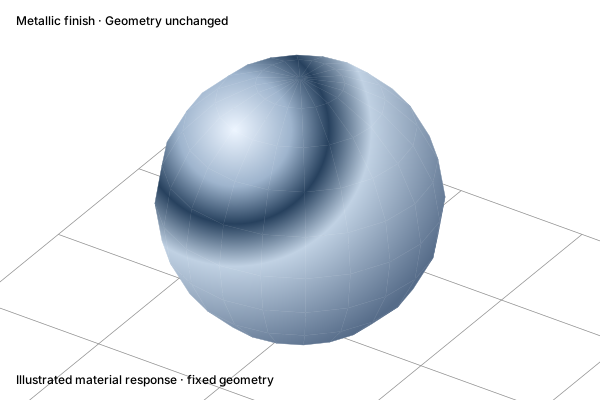
A metallic surface
Check the result
Inspect the surface under the scene’s lighting and from several angles. If nothing changes, check the active slot, assigned faces, and viewport display mode.
Practice in Show3D
Open the editor and follow the steps with your own scene.