

Assign a face material
Assign a material slot to selected faces. Other faces keep their existing assignment.
Before you start
Select a mesh and enter Face Select in Edit Mode, or use Face Selection in the Material workspace. Prepare a material slot for the region.
Use the operation
Give a selected region a different material without separating it into another object.
- Select the faces that should receive the material and inspect the selection count in the Material panel.
- Select the destination material slot. Add a slot if the object needs a separate surface material, then configure that slot.
- Choose Assign to Selected Faces. Deselect the faces or return to Object Mode to inspect the boundary clearly.
Controls and choices
| Controls | What changes |
|---|---|
| Slot selection | Selecting a slot chooses what you are editing; it does not by itself reassign the currently selected faces. |
| Assign | Assign explicitly associates the selected faces with the active slot. Faces outside the selection keep their assignment. |
| Boundary detail | Material assignment follows face boundaries. Add topology or paint a texture when the desired color boundary does not follow existing edges. |
See what changes
Before
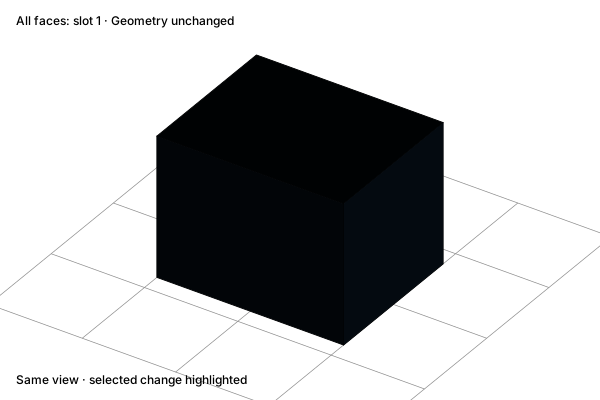
One shared surface
After
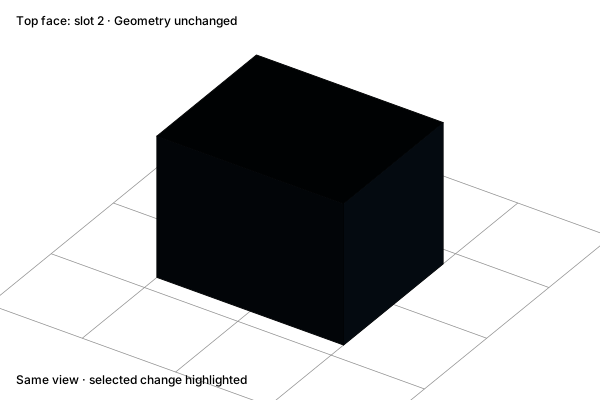
A different finish on one face
Check the result
Confirm the new material appears only on the intended faces, including hidden sides. If an entire object changed, check whether you edited a widely assigned slot instead of creating a separate one.
Practice in Show3D
Open the editor and follow the steps with your own scene.