

Subdivision Surface
Evaluate a denser, smoothed surface from the control cage. Unlike mesh Subdivide or Smooth Shading, this changes the evaluated geometry and silhouette.
Before you start
Select a mesh in Object Mode. Start with a simple cage and enough room around narrow corners for smoothing.
Use the operation
Add a smoother, denser surface while controlling how much the shape rounds off.
- For an adjustable result, open the object context menu and add a Subdivision Surface modifier. Use its settings in the modifier panel.
- Start at a low level and inspect the silhouette. Add support loops or bevels to the base mesh when a corner needs more definition.
- Apply the modifier only when you want to bake its result into the mesh. The separate Subdivision Surface sidebar tool also previews a level and commits geometry with Apply.
Controls and choices
| Controls | What changes |
|---|---|
| Level | The direct tool offers levels 0–4. Higher levels add rapidly increasing geometry; start with 1 or 2. |
| Modifier or applied geometry | A live modifier keeps the base mesh available for adjustment. Applying commits a denser mesh; use Undo if you applied too early. |
| Support topology | Closely spaced support loops hold an edge more tightly. Extra levels alone do not repair poor edge flow. |
See what changes
Before
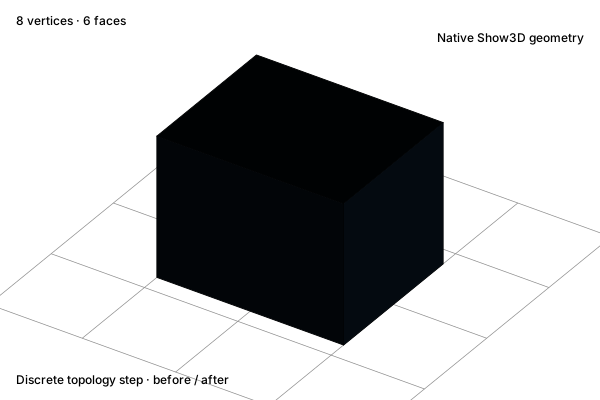
A low-resolution control cage
After
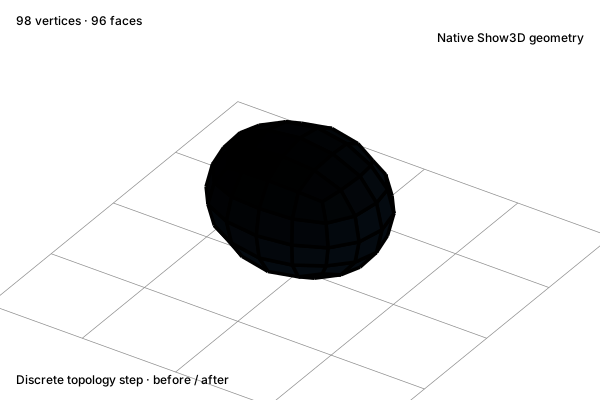
A smoothed surface
Check the result
Inspect shrinking corners, pinching, and open boundaries. Compare the silhouette as well as the lighting; smooth shading alone does not show the geometry difference.
Practice in Show3D
Open the editor and follow the steps with your own scene.