
Skip to content
Show3D
  • Community
  • Pricing
Search scenes
Create
OverviewDocumentationTutorials & coursesSearch Learn
  • Overview
  • Get started with Show3D
  • Modeling tools
    • Modeling examples
  • Materials & textures
  • Agent modeling
    • Connect Codex
  • Asset generation

In this topic

  • Bridge loops
  • Fill a boundary
  • Delete faces
  • Dissolve an edge
  • Merge at center
  • Merge by distance
  • Separate geometry
  • Slide an edge
  • Slide a vertex
  • Recalculate normals
  • Mark sharp edges
  • Smooth shading
Browse documentation
  • Overview
  • Get started with Show3D
  • Modeling tools
    • Modeling examples
  • Materials & textures
  • Agent modeling
    • Connect Codex
  • Asset generation

In this topic

  • Bridge loops
  • Fill a boundary
  • Delete faces
  • Dissolve an edge
  • Merge at center
  • Merge by distance
  • Separate geometry
  • Slide an edge
  • Slide a vertex
  • Recalculate normals
  • Mark sharp edges
  • Smooth shading

Learn

Learn overviewDocumentationTutorials & coursesConnect Codex
XiaohongshuDouyinBilibili

Copyright © 2023 - 2026 Show3D Technology Limited. All rights reserved.

Terms of UsePrivacy Policy
Modeling tools
  1. Learn
  2. Documentation
  3. Modeling tools
  4. Mark sharp edges

Mark sharp edges

Mark edges that should preserve a hard shading boundary. This changes edge attributes, not the silhouette or topology.

Before you start

Use Edge Select in Mesh Edit Mode. Sharp marks define shading boundaries without cutting the mesh apart.

Use the operation

Keep a deliberate hard shading break along selected edges.

  1. Select the edges along the rim, seam, or corner that should read as a hard boundary.
  2. Open the edge context menu and choose Mark Sharp.
  3. Inspect the surface under smooth shading. Choose Clear Sharp on the same edges if the split is too strong.

Controls and choices

ControlsWhat changes
Mark SharpStores a hard boundary on the selected edges. It does not create a bevel or add support loops.
Clear SharpAllows smoothing across those edges again, subject to the surrounding face and material behavior.
Flat surfacesA sharp mark can be hard to distinguish when all faces are already shaded flat. Inspect the intended smooth-shaded result.

See what changes

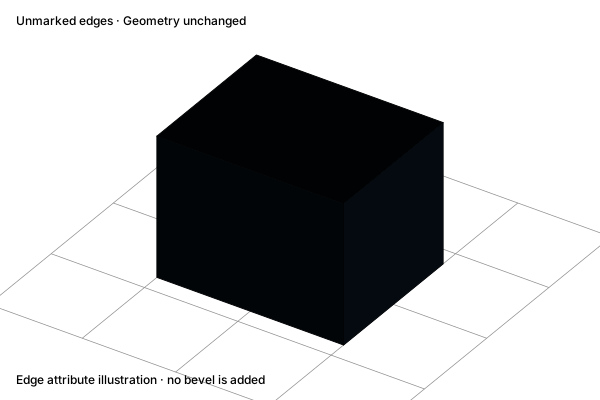
Before

Mark sharp edges: An unmarked edge boundary

An unmarked edge boundary

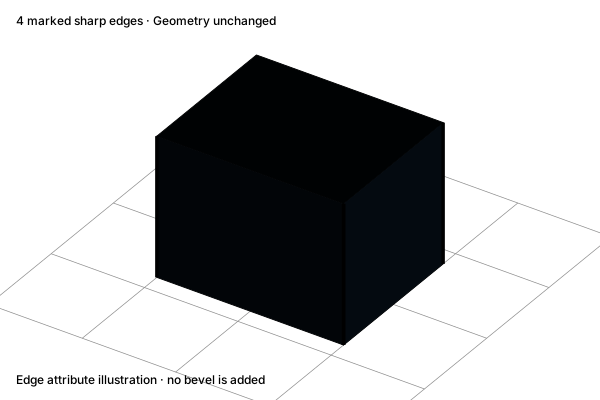
After

Mark sharp edges: A marked shading boundary

A marked shading boundary

Concept illustration. The diagrams explain the operation. Your result depends on the starting geometry and settings.

Check the result

The marked boundary should be crisp while adjacent curved areas remain smooth. Use Bevel when the silhouette needs a real rounded edge.

Related operations

Smooth shadingBevelRecalculate normals

Practice in Show3D

Open the editor and follow the steps with your own scene.
Start modelingModeling essentials

On this page

Before you startUse the operationControls and choicesSee what changesCheck the resultRelated operations