

Bridge loops
Build faces between compatible boundary loops. The example joins two four-edge loops into a continuous side wall.
Before you start
Enter Edit Mode and select two compatible boundary loops on the same mesh. Joining separate objects first makes their geometry available in one mesh; it does not connect the loops.
Use the operation
Connect two openings with a strip of faces, for example between two ends of a handle.
- Use Edge Select to select the two complete loops. Keep unrelated edges out of the selection.
- Open the selection’s context menu and choose Bridge Edge Loops. The command is available when the selected topology can be bridged.
- Orbit around the connection. If faces cross or the connection is unsuitable, undo and correct the loops before bridging again.
Controls and choices
| Controls | What changes |
|---|---|
| Loop selection | Start with two simple loops with matching vertex counts and compatible order. Branching selections can prevent a bridge. |
| Bridge or fill | Bridge connects separate boundaries. Fill closes one boundary; it does not create a passage between two openings. |
| Twist with Codex | For an offset connection, ask Codex to adjust the bridge’s twist and inspect the correspondence. The direct context-menu action uses its default settings. |
See what changes
Before
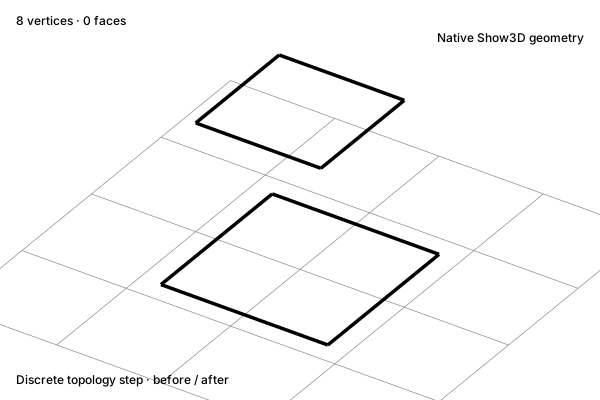
Two open loops
After
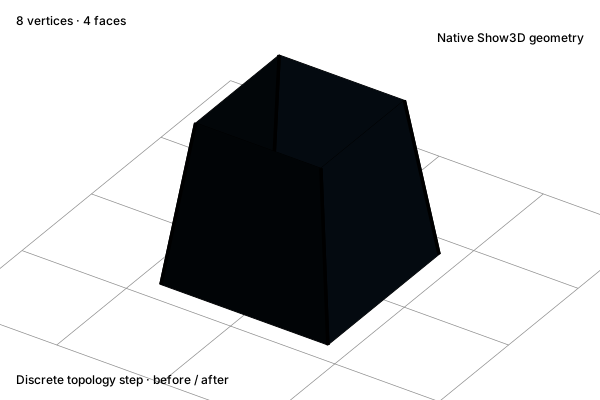
Connecting side faces
Check the result
Look for an unbroken strip with no crossed faces or unintended caps. Recalculate normals if the new surface faces the wrong way.
Practice in Show3D
Open the editor and follow the steps with your own scene.