

Inset a region
Create a border inside a face region. The outside boundary stays fixed, and the new inner face can be extruded next.
Before you start
Use Face Select in mesh edit mode and select the surface region that needs a border. Region inset treats adjacent selected faces as one region, so prepare a connected selection for a shared frame.
Use the operation
Create a border before recessing a panel or adding a raised center.
- Choose Inset Faces → Region in the face context menu.
- Move the pointer to set the border width. Start narrow enough to preserve the inner region.
- Hold Control while moving to adjust depth during the operation, or leave depth unchanged for a flat inset.
- Press Enter to confirm or Escape to cancel. Select the inner face for a subsequent extrusion if needed.
Controls and choices
| Controls | What changes |
|---|---|
| Border width | Controls the inward spacing from the region boundary. Narrow faces limit useful inset width. |
| Individual toggle: I | Switches between a region border and separate borders for selected faces during the active operation. |
| Outset / boundary: O / B | Toggles outward behavior and treatment of open mesh boundaries. Inspect the preview when changing either. |
See what changes
Before
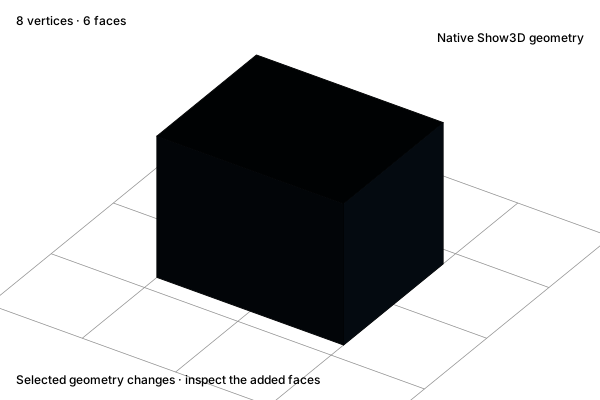
A selected face
After
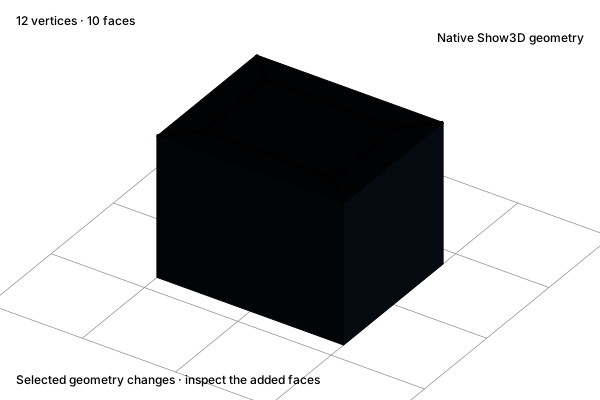
An inner face and border
Check the result
The frame should follow the intended outer boundary without overlapping itself. Reduce the width on narrow or sharply concave regions. If every face gets a separate border, switch from Individual to Region.
Practice in Show3D
Open the editor and follow the steps with your own scene.