

Knife cut
Place a deliberate cut across a face. New edges follow the chosen path, giving you control beyond a regular loop cut.
Before you start
Select an editable mesh and enter mesh edit mode in the modeling workspace. Work from a view where the intended face and cut endpoints are visible.
Use the operation
Place a custom edge path across existing faces.
- Press K with the modeling viewport focused to start Knife.
- Click the start and subsequent points on the mesh. Inspect the displayed path after each point.
- Hold Shift when an edge midpoint is the intended target. Use Backspace or Delete to remove the last placed point.
- Press Enter to commit the path or Escape to cancel, then inspect the new topology.
Controls and choices
| Controls | What changes |
|---|---|
| Cut points | Define the route across the visible mesh. A valid route needs enough points to form a cut. |
| Midpoint snapping | Shift requests edge-midpoint snapping while positioning a cut point. |
| Confirm / cancel | Enter commits the current path; Escape abandons the active cut. Backspace removes only the last point. |
See what changes
Before
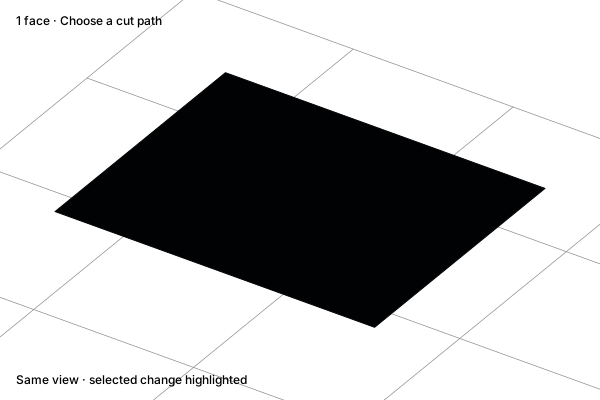
An uncut surface
After
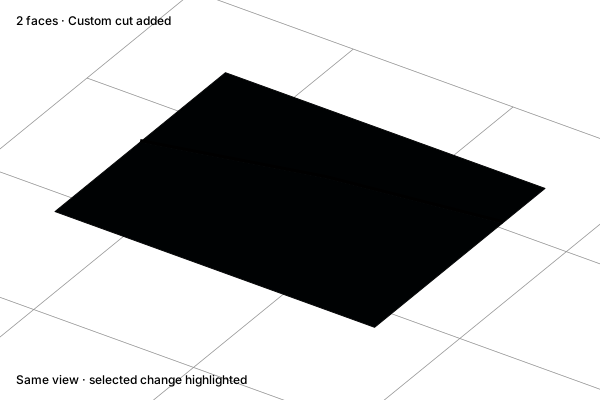
A custom cut path
Check the result
Inspect where the path enters and exits each face. Very short segments and intersections near existing vertices can produce difficult topology. Do not assume a visible cut automatically passes through the back of the object; inspect the opposite surface separately.
Practice in Show3D
Open the editor and follow the steps with your own scene.