
Skip to content
Show3D
  • Community
  • Pricing
Search scenes
Create
OverviewDocumentationTutorials & coursesSearch Learn
  • Overview
  • Get started with Show3D
  • Modeling tools
    • Modeling examples
  • Materials & textures
  • Agent modeling
    • Connect Codex
  • Asset generation

In this topic

  • Extrude
  • Bevel
  • Select components
  • Select a loop
  • Extrude a vertex
  • Extrude an edge
  • Inset a region
  • Inset individual faces
  • Bevel a vertex
  • Loop cut
  • Knife cut
  • Connect vertices
  • Subdivide a mesh
  • Triangulate
  • Triangles to quads
Browse documentation
  • Overview
  • Get started with Show3D
  • Modeling tools
    • Modeling examples
  • Materials & textures
  • Agent modeling
    • Connect Codex
  • Asset generation

In this topic

  • Extrude
  • Bevel
  • Select components
  • Select a loop
  • Extrude a vertex
  • Extrude an edge
  • Inset a region
  • Inset individual faces
  • Bevel a vertex
  • Loop cut
  • Knife cut
  • Connect vertices
  • Subdivide a mesh
  • Triangulate
  • Triangles to quads

Learn

Learn overviewDocumentationTutorials & coursesConnect Codex
XiaohongshuDouyinBilibili

Copyright © 2023 - 2026 Show3D Technology Limited. All rights reserved.

Terms of UsePrivacy Policy
Modeling tools
  1. Learn
  2. Documentation
  3. Modeling tools
  4. Inset individual faces

Inset individual faces

Give each selected face its own inset border. The separate borders distinguish this operation from a region inset.

Before you start

Select several faces in mesh edit mode. Use Individual when each face needs its own border, such as repeated panels on a surface.

Use the operation

Give each selected face a separate panel boundary.

  1. Choose Inset Faces → Individual from the face context menu.
  2. Adjust the inset width while checking the smallest selected face.
  3. Keep depth unchanged for flat borders, or hold Control to adjust depth during the operation.
  4. Confirm with Enter, then inspect each border before continuing with the inner faces.

Controls and choices

ControlsWhat changes
Individual modePreserves a separate boundary for each selected face, even when those faces are adjacent.
WidthOne setting can affect faces of different sizes differently. Choose a width that fits the smallest face.
Mode togglePress I during the operation to compare the region and individual treatment.

See what changes

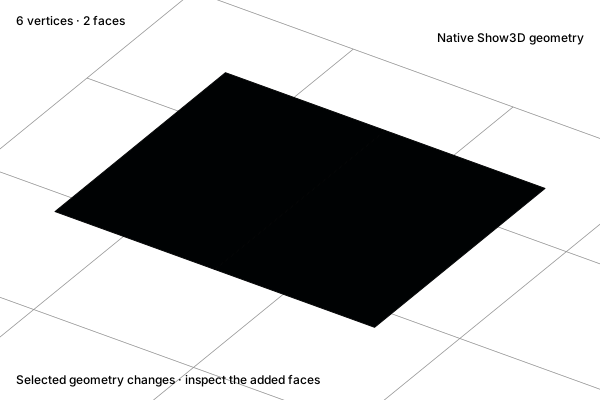
Before

Inset individual faces: Adjacent faces

Adjacent faces

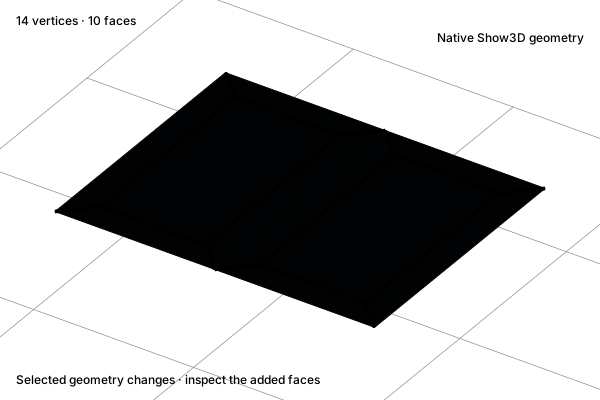
After

Inset individual faces: A border in each face

A border in each face

Concept illustration. The diagrams explain the operation. Your result depends on the starting geometry and settings.

Check the result

Every selected face should have its own inset, with enough room left inside. If adjacent panels share a single frame, check the mode. If small faces collapse, reduce width or inset them in a separate selection.

Related operations

Inset a regionExtrudeAssign a face material

Practice in Show3D

Open the editor and follow the steps with your own scene.
Start modelingModeling essentials

On this page

Before you startUse the operationControls and choicesSee what changesCheck the resultRelated operations