

Add a primitive
Start with a basic mesh. Its vertices, edges, and faces can be selected and developed into a more detailed form.
Before you start
Open the modeling workspace in object mode. Use Add in the modeling toolbar to choose a mesh primitive. Start with a shape close to the final silhouette; a cube suits a box-like part, while a cylinder suits a round shaft.
Use the operation
Create a starting mesh with enough structure for the next edit.
- Open Add and choose Cube, Sphere, Cylinder, Cone, Torus, or a planar mesh. The new object appears in the scene.
- While the newly created mesh remains selected, adjust the available Geometry settings. This creation panel is tied to the new mesh; it is not a permanent construction-history editor.
- Set the object's position and proportions, then inspect it from the front and side before adding detail.
- Enter mesh edit mode when you need to change individual vertices, edges, or faces.
Controls and choices
| Controls | What changes |
|---|---|
| Primitive type | Determines the initial topology and the available creation settings. |
| Geometry settings | Parameters depend on the chosen primitive. Set dimensions and available segment counts before developing the mesh. |
| Object scale | Changes the object's proportions. It does not add supporting edges. |
See what changes
Before
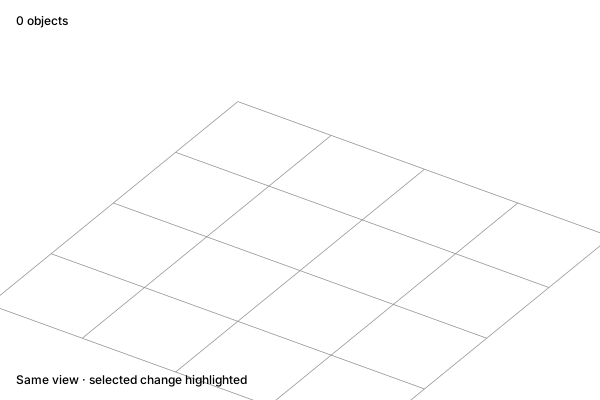
An empty work area
After
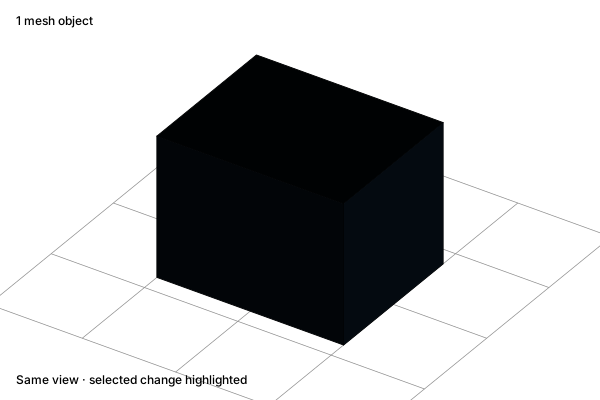
An editable starting shape
Check the result
Confirm that you added a mesh rather than a light, curve, or reference point. If Geometry is no longer shown, use object transforms or mesh editing for further changes. A dense starting mesh makes later selections harder; add topology where the shape needs it.
Practice in Show3D
Open the editor and follow the steps with your own scene.